Phone
Phone  Email
Email


- Trophies and sustainability
UV printing on acrylic: height control and static electricity in thick sheets
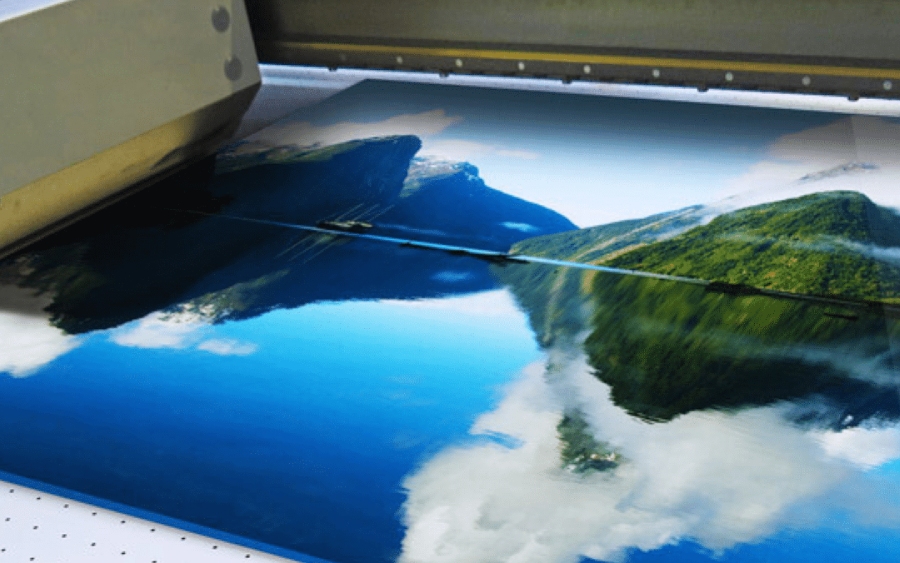
Printing on 20 to 30 mm PMMA with a flatbed UV printer brings together two problems that degrade sharpness: the part's actual height is not its nominal height, and the material builds up an electrostatic charge. Both affect the same thing: the droplet's path between the nozzle and the surface.
This article explains the physical origin of each problem, the usual ways to control them, and a workflow that applies to any flatbed UV printer.
At Sustain Awards, we make acrylic awards and personalize them with direct UV printing. We cover how to prepare the design file for this printing in our UV printing guide for acrylic awards.
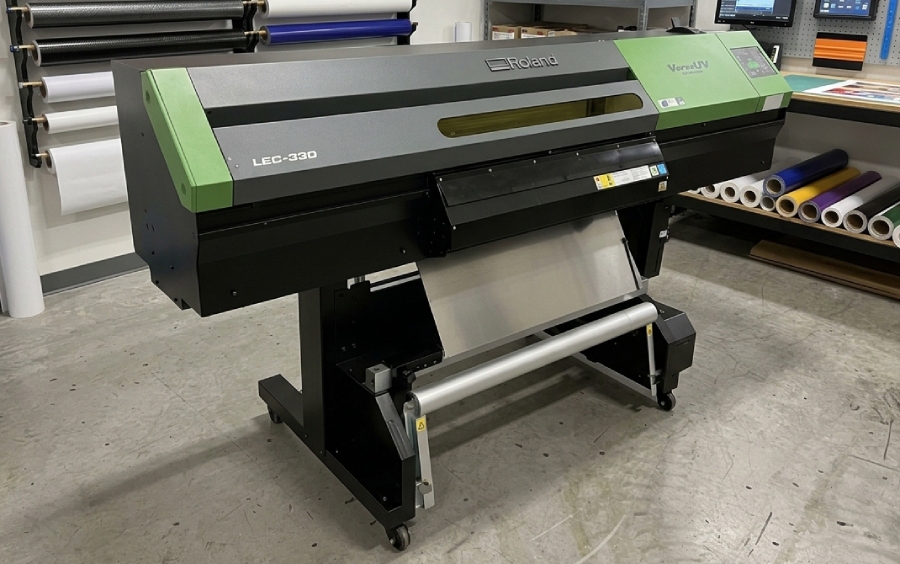
Table of contents
- 1. Why thick acrylic is a difficult substrate
- 2. Problem 1: thickness variation and height detection
- 3. Problem 2: static electricity
- Quick diagnosis: from symptom to cause
- 4. Additional print settings
- 5. The complete protocol
- 6. Key manufacturers
- Measure, neutralize, set: the order that delivers sharpness on thick acrylic
- Frequently asked questions
1. Why thick acrylic is a difficult substrate
Thick acrylic is a difficult substrate because its actual thickness varies and because it builds up static charge. The table summarizes each characteristic and its consequence.
| Characteristic of thick PMMA | Effect on printing |
|---|---|
| Wide thickness tolerance, especially in cast sheet | Printhead-to-surface distance varies from piece to piece |
| Optical transparency | Optical height and anti-collision sensors can't detect the surface |
| High-resistivity electrical insulator | Accumulates charge |
| Factory protective film | Peeling it off generates static charge |
| Glossy, transparent surface | UV light reflects and is channeled toward the printhead |
| Sensitive to solvents, especially extruded sheet or laser-cut edges | Risk of crazing (micro-cracks) when cleaning with alcohol |
2. Problem 1: thickness variation and height detection
2.1 Where the variation comes from
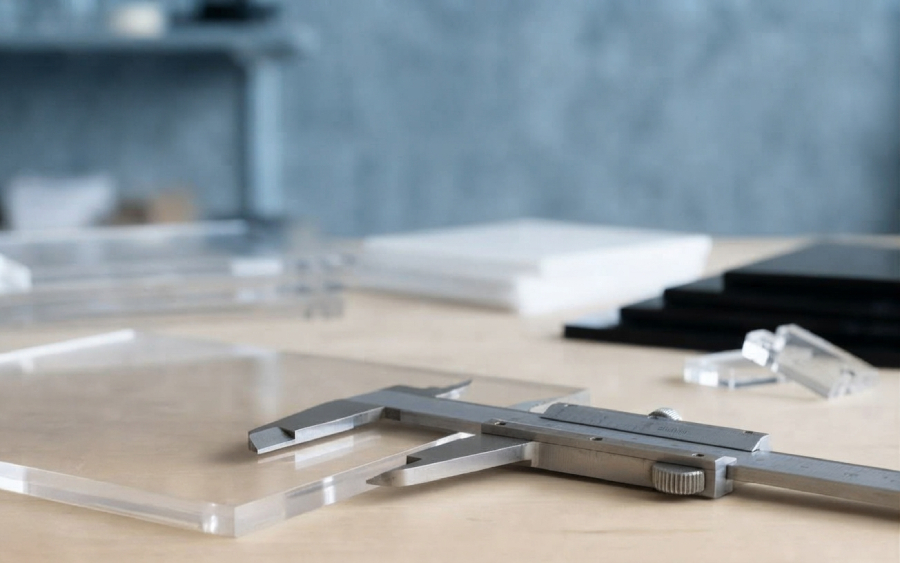
25 mm acrylic is almost always cast. Casting between glass plates produces sheets with much wider thickness tolerances than extruded acrylic, both from sheet to sheet and within a single sheet. A variation of ±1 to ±2 mm on 25 mm is common and within spec.
| Type of variation | Description | Correction |
|---|---|---|
| Between pieces | Each piece has a different thickness but is flat | Sort by thickness, set height by batch, shims |
| Within a piece | Wedge shape or uneven flatness | Level with shims under the low side |
2.2 Why the sensor fails on clear acrylic
Optical sensors fail on clear acrylic because the beam passes through the material instead of reflecting off the surface. The table compares four systems.
| System | Function | Behavior with clear PMMA |
|---|---|---|
| Contact probe | Measures height by touching the piece | Works, but can fail on beveled or polished edges and can mark the surface |
| Laser or reflective optical sensor (triangulation) | Measures height or detects obstacles | Fails: the beam passes through the material and reads the table, or gets no return |
| Horizontal optical barrier (anti-collision) | Detects objects that stick up above the print plane | Inconsistent detection: the acrylic lets part of the beam through |
| Laser positioning guide | Visual origin reference | Hard to see on a clear surface |
The result is twofold: the machine misreads the height and sets the wrong gap, or it fails to protect the printhead from a piece taller than expected.
Collision risk: when the actual thickness exceeds the measured thickness
A smaller gap improves sharpness, but it also reduces the margin if a trophy turns out taller than expected.
2.3 What happens to quality as the gap increases
The gap (or printhead-to-surface distance) is the space between the nozzle plate and the surface being printed.
The droplet leaves the nozzle at about 6 to 8 m/s while the carriage is moving. In flight, it keeps the carriage's horizontal velocity, so it lands offset:
d = g \cdot \frac{v_{carriage}}{v_{droplet}}
Bidirectional calibration compensates for that offset at one specific gap. If the actual gap changes, the forward and reverse passes fall out of registration:
\varepsilon_{bidi} \approx 2 \cdot \Delta g \cdot \frac{v_{carriage}}{v_{droplet}}
Rough example: a carriage at 1 m/s, a droplet at 6 m/s, and a Δg of 1.2 mm produce an error of about 0.4 mm, equivalent to about 9 dots at 600 dpi. Visually, that means double outlines, thickened text, and lost definition in fine lines.
In addition, as the gap increases:
- Satellite droplets, which are slower than the main droplet, land farther away, producing halo and haze around the image.
- The droplet is more exposed to air currents and electrostatic fields.
- More ink mist forms, which can cure onto the nozzle plate.
The gap is the variable with the biggest impact on sharpness. The usual benchmark is to work at around 1 mm.
2.4 Common methods
| Method | Application | Advantages | Limitations |
|---|---|---|---|
| Opaque tape at the measuring point | Colored or masking tape where the optical sensor measures; remove before printing | No cost; commonly recommended by manufacturers | Only for optical sensors; extra handling |
| Opaque protective film while measuring | Measure with the film on, then remove it | No extra materials | Clear film doesn't work; peeling it off generates static |
| Opaque reference block | Machined block (aluminum, POM) of known height next to the piece; measure on the block and apply the difference | Repeatable and accurate | Requires measuring the actual piece with calipers |
| Manual height | Enter the thickness or lower the printhead manually to the desired gap | Independent of the sensor | Operator-dependent; risky if the value is wrong |
| Pre-measuring with a micrometer or calipers | Measure each piece at 3 to 5 points and record the maximum | The foundation for everything else | Labor |
| Sorting by thickness | Group pieces into 0.2 to 0.3 mm bands and set the height per batch | Reduces the real Δgap to negligible values | Needs enough volume per band |
| Calibrated shims | Under thin pieces to level the top face; under the low side of wedge-shaped pieces | Allows mixed batches at a single gap | The piece must not rock |
| Positioning jig | Milled or cut jig, lower than the piece, with pockets | Repeatable registration, side clamping | Upfront fabrication |
| Gap referenced to the highest point | Set the height on the tallest piece or area in the batch | Eliminates collision risk | Lower areas are printed with a larger gap |
| Automatic height readjustment | Option on some machines that recalculates height when contact is detected | Prevents stoppages | Doesn't improve quality, only continuity |
| Bidirectional recalibration at the working gap | Repeat the pass calibration with the batch's actual gap | Corrects the registration error | Only useful if the gap is stable within the batch |
| Unidirectional printing | Print in one direction only | Eliminates bidirectional error | Roughly double the print time |
| Calibrated or machined thickness | Sheets of calibrated thickness, or face-milled | Solves the problem at the root | Material or process cost |
3. Problem 2: static electricity
3.1 Where the charge comes from
PMMA is an insulator: the charge stays on the surface and doesn't drain away through contact with a grounded table.
| Source | Risk level |
|---|---|
| Peeling off the protective film | Very high: rapid separation of surfaces (triboelectric effect), charges of several kV |
| Wiping with a dry cloth | High |
| Dry environment (low RH, heating, winter) | High: multiplies the other sources |
| Handling with synthetic gloves | Medium |
| Airflow from the vacuum table or extraction | Low to medium |
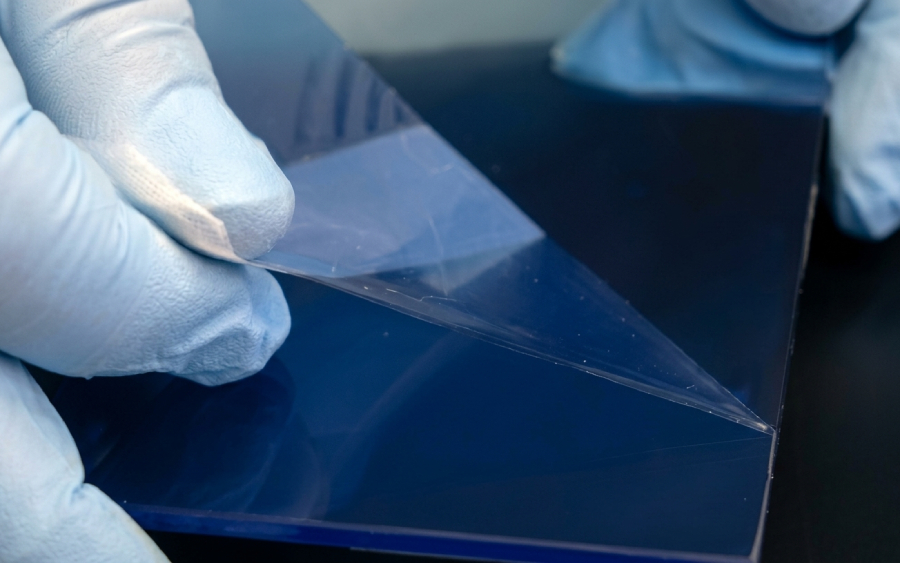
3.2 Effect on the droplet
UV ink droplets are only a few picoliters and can carry their own charge. The piece's electrostatic field attracts or deflects them in flight:
- Haze or overspray outside the image.
- Fuzzy outlines and text with a halo.
- Displaced satellites.
- Worse at edges and corners, where the field concentrates.
- Worse with small droplets.
- Dust attraction, with the dust ending up trapped under the ink.
- Mist that gets pulled back toward the printhead (see 2.3).
Gap and static compound each other: static that's tolerable at a 1 mm gap can become visible at 2.2 mm.
3.3 Measure before you act
A handheld electrostatic field meter lets you tell whether the piece is charged, verify the ionizer, and pinpoint which operation is generating the charge. As a typical working benchmark in printing, the goal is to keep the surface below ±1 kV.
3.4 Common methods
| Method | Application | Advantages | Limitations |
|---|---|---|---|
| Ionizing bar (AC or pulsed DC) | On the carriage, the gantry, or the loading area | Neutralizes charge on insulators | Emitters need periodic cleaning; pulsed DC performs better at longer distances |
| Ionizing air gun or blower | While peeling the film and before loading the piece | Neutralizes and removes dust at the same time | Airflow must not be active during printing |
| Slow film removal | Peel slowly, at a low angle, under ionized air | Reduces charge at the source | Depends on operator discipline |
| Resting time after film removal | Let the piece sit for a few minutes, ideally under an ionizer | No cost | Not enough on its own in a dry environment |
| 40 to 60% relative humidity | Humidifier and hygrometer; ideal around 50% | Reduces charge generation throughout the process | Doesn't neutralize charge already present; avoid condensation |
| Grounding of table, machine, and operator | Grounded table and frame; wrist strap or dissipative footwear | Prevents buildup on conductive parts | Only acts on conductive parts |
| Antistatic cleaners | Applied with an antistatic cloth, not sprayed | Temporary neutralization | Surfactant residue that can reduce adhesion |
| Isopropyl alcohol | Cleaning off grease and dust | Removes contaminants | Not antistatic; crazing on extruded sheet and laser-cut edges |
| Antistatic wipes or damp microfiber | Final cleaning | Less charge than a dry cloth | Only reduces charge, doesn't neutralize it |
3.5 Common mistakes
- Relying on table grounding to discharge the acrylic.
- Peeling the film on the print bed, right before printing.
- Cleaning with non-ionized compressed air, which charges the piece even more.
- Applying antistatic products without validating adhesion.
- Turning on the ionizer only during printing rather than during prep.


We bring UV printing to acrylic
Sharpness and personalization in every detail
Discover our acrylic awardsQuick diagnosis: from symptom to cause
The table links print symptoms to their probable cause.
| Symptom | Probable cause |
|---|---|
| Double outlines or thickened text | Gap differs from the calibrated gap (bidirectional misregistration) |
| Halo or haze around the image | Satellite droplets from a high gap, static, or both |
| Fuzzier outlines at the piece's edges and corners | Concentrated electrostatic field |
| Dust specks under the ink | Electrostatic attraction of dust |
| Different sharpness between trophies in the same batch | Uncompensated thickness variation between trophies |
| One area of the trophy sharper than another | Wedge-shaped trophy or uneven flatness |
| Crazing after cleaning | Alcohol on extruded acrylic or laser-cut edges |
| Cured ink on the nozzle plate | Ink mist from a high gap, static, or both |
| Printhead hits the trophy | Actual thickness greater than measured; optical sensor with no reading |
| Loss of adhesion after cleaning | Antistatic cleaner residue |
4. Additional print settings
With height and static under control, these adjustments reduce the remaining error.
| Adjustment | Effect | Cost |
|---|---|---|
| Slower carriage speed | Reduces droplet and satellite offset | Longer print time |
| More passes | Less ink per pass, better outline definition | Longer print time |
| Larger droplet size (grayscale printheads) | Heavier droplets, less sensitive to field and air | Less detail in fine gradients |
| Tuned pin curing | Limits droplet spread on a smooth surface | Tuning per ink |
| Masking the edges | Reduces the UV light that acrylic channels toward the printhead | Extra prep |
| Dark or opaque base under the piece | Prevents UV reflection from the table and makes visual registration easier | Low |
| Reverse (back-face) printing | Protects the ink and adds depth; requires a mirrored image and reversed layer order | File prep |
5. The complete protocol
| Step | Action |
|---|---|
| 1 | Keep the shop at 40 to 60% relative humidity, verified with a hygrometer |
| 2 | Measure each piece's thickness, note the maximum and minimum, and sort into bands |
| 3 | Peel the film slowly under ionized air |
| 4 | Clean with an antistatic cloth; use alcohol only if it's compatible with the type of acrylic |
| 5 | Position with the jig and level with shims, keeping the printed face parallel to the table |
| 6 | Measure height on opaque tape or a reference block, never on bare acrylic with an optical sensor |
| 7 | Set the gap to the safe minimum above the highest point in the band |
| 8 | Check charge with a field meter; ionize if it exceeds the threshold |
| 9 | Recalibrate bidirectionally if the band changes, or print unidirectionally for critical jobs |
| 10 | Run an adhesion test for each batch of material or cleaner |

6. Key manufacturers
Height-measurement, anti-collision, and ionization systems vary by manufacturer and model. It's worth confirming with each manufacturer which type of sensor the machine uses and whether it offers an integrated or optional ionizer.
| Category | Segment | Main manufacturers |
|---|---|---|
| Flatbed UV printers | Compact and desktop | Roland DG, Mimaki, Epson, Mutoh |
| Flatbed UV printers | Large format and production | Canon (Arizona), EFI, Durst, swissQprint, Agfa, Fujifilm, Vanguard |
| Static control | Ionizing bars, blowers, and guns | Simco-Ion, Meech, Keyence, Fraser, Haug |
| Static control | Electrostatic field meters | Simco-Ion, Meech, Keyence, Fraser |
We bring UV printing to acrylic
Sharpness and personalization in every detail
Discover our acrylic awardsMeasure, neutralize, set: the order that delivers sharpness on thick acrylic
UV printing on acrylic this thick depends on measuring every trophy and neutralizing its charge before setting the gap.
Two thresholds help you decide how much control you need. With a thickness range under ±0.3 mm per batch, a gap set at the highest point barely degrades sharpness. If satellite droplets persist after you ionize and set the minimum gap, static isn't the cause: check the nozzles and the bidirectional calibration.